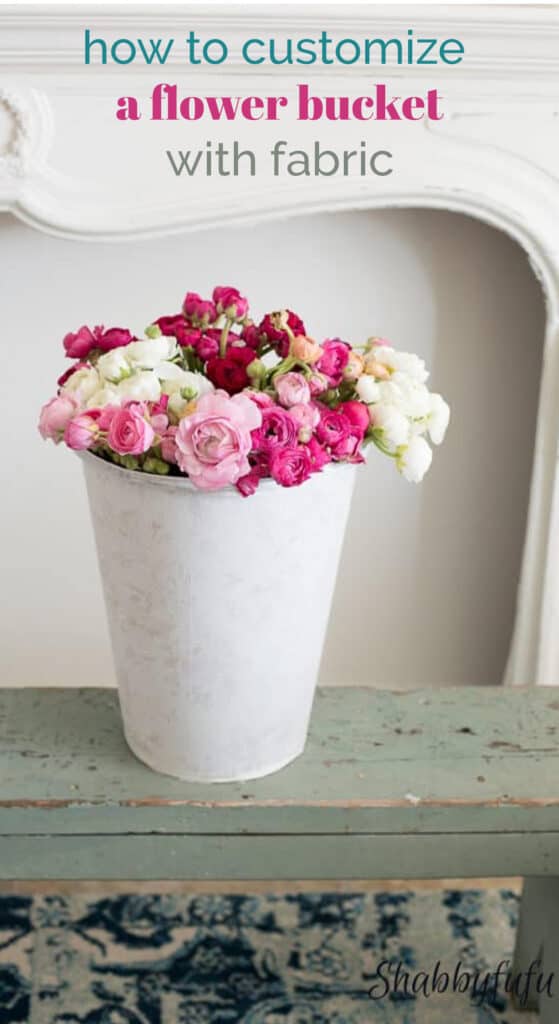
How To Customize A Flower Bucket With Pretty Fabric
I was that wild woman who was the first in line yesterday at Trader Joes when the doors opened up at 8:00 a.m. Knowing that this time of year my favorite elusive bloom takes a fast path from California, I’ve been patient.

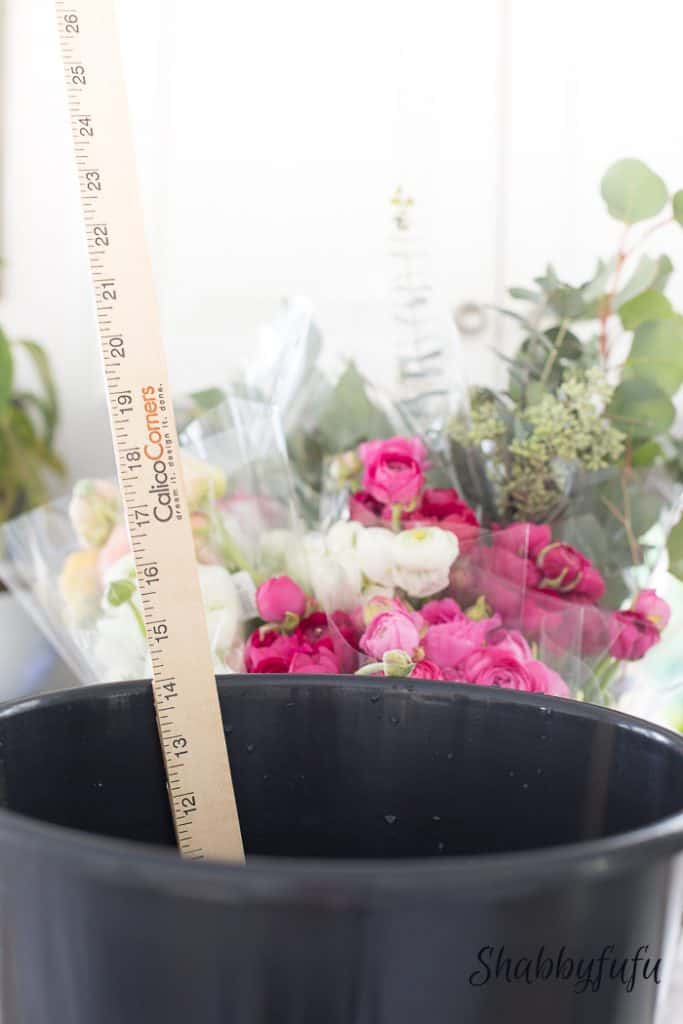
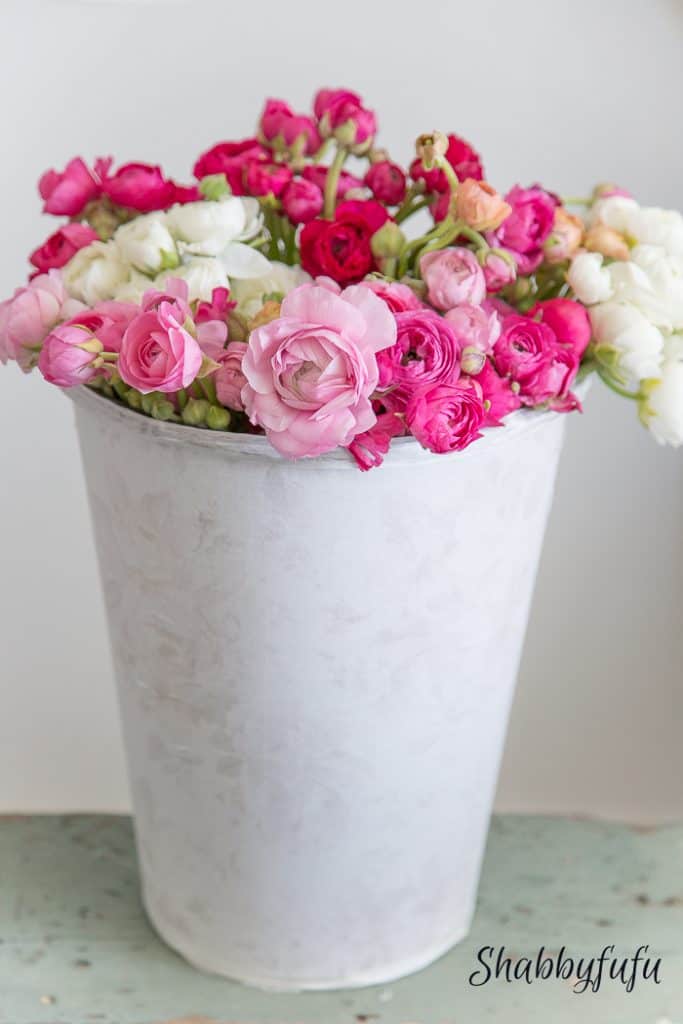
It’s all about the container and making it into something special and if you want to see a couple of other ways to use these free buckets check out THIS POST and then THIS ONE for some DIYs. I am a firm believer in recycling and reusing plain old objects to create an objet d’art. If you are purchasing a large amount of flowers as I did today they will generally be happy to supply you with a free plastic flower bucket if you simply ask 😉

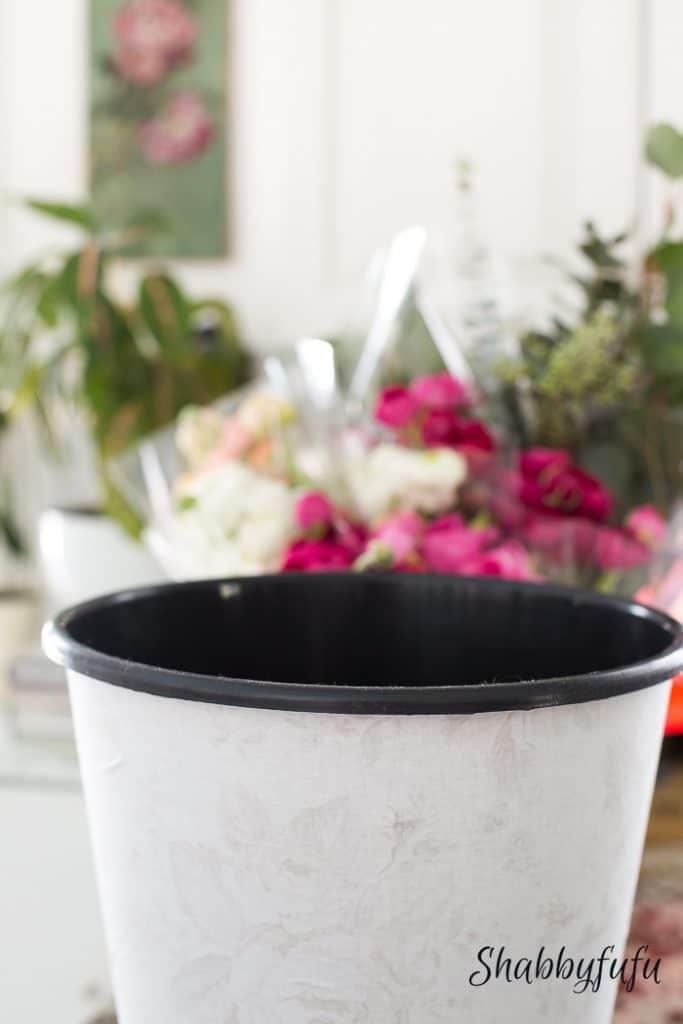
I marked the fabric on the backside with a pencil and cut it to size (top to bottom). Then I ironed out any fold marks, since it had been stored. I affixed it to the plastic bucket with (affiliate links in the post) this spray adhesive and you could also use Mod Podge or watered down school glue.
I like to use spray adhesive because if you work quickly you can reposition your fabric. NOTE: I sprayed THE FLOWER BUCKET and not the fabric. If you spray fabric you’ll have a sticky, mess and I don’t recommend it! Wrap quickly and don’t spray the entire plastic flower bucket at once…work in small sections as you go along. Smooth out any wrinkles or bubbles with your hand. Spray glue smells and is toxic, so work outside if you can or a well ventilated room.
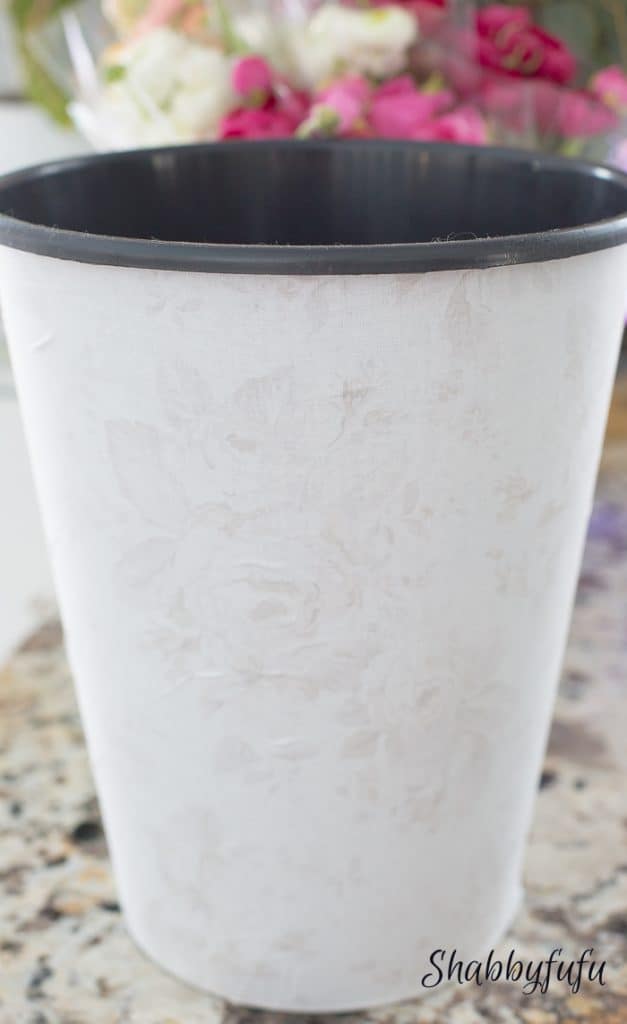
I trimmed the top and bottom with plain white seam binding that I hot glued on. Easy…simple and it took me literally 10 minutes to do this project. It might take you a little longer because I’ve done this before, but it’s not complicated at all. If desired you can coat with Mod Podge or a spray sealer and Mod Podge makes their own brand, which I love.
I buy a lot of my craft supplies through Amazon because it’s easy, free shipping and I don’t have time to run around all over town. The materials are all conveniently linked above for you and any affiliate purchases simply mean that I receive a very small commission and you don’t pay any more;-)
I’ll be talking flowers more next week and have some sweet ideas for your home. Happy weekend!


I love this idea Janet! So smart to reuse what you have and make something beautiful at the same time. Pinning!
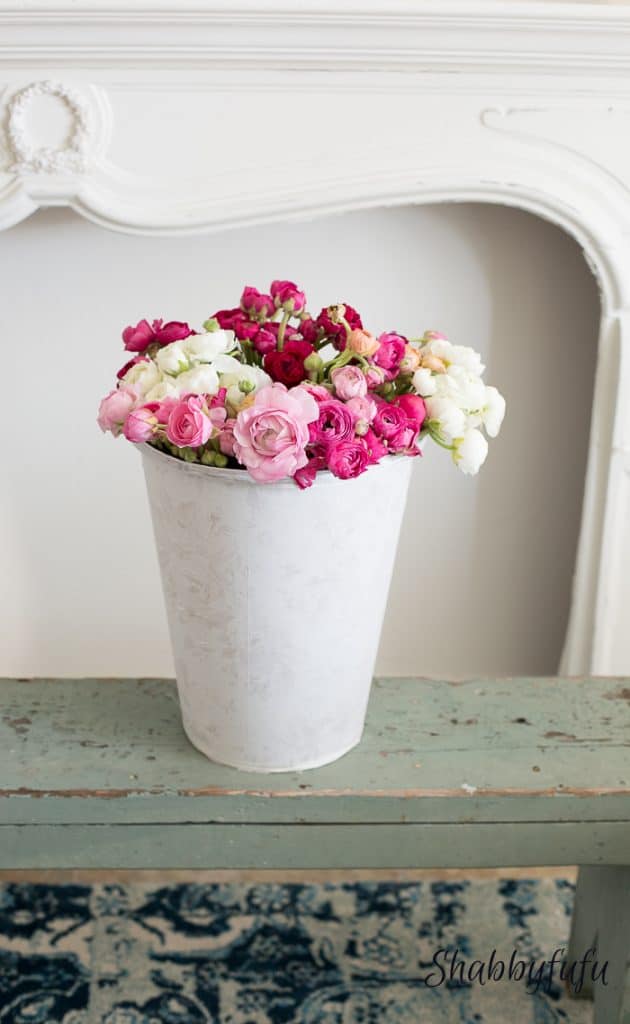
What a great way to upstyle a flower bucket. I find myself needing those when I buy long stemmed flowers. Those pink rannuniculus are gorgeous!
I have several posts on upcycling flower buckets and it’s so fun to do!